Growing hibiscus from cuttings can be a rewarding venture for any garden enthusiast, allowing you to expand your flower collection with relative ease. To start, you’ll need to select a healthy parent plant—this is critical as the vigor and vitality of the mother will significantly influence the offspring. It’s best to choose a mature hibiscus plant that reflects the traits you wish to propagate, such as vibrant blooms or robust growth. Once you’ve identified your donor plant, prepare your tools: sharpened pruning shears, clean pots or containers, and a quality potting mix rich in organic matter will set the stage for success.
Preparing the Cuttings
The next step involves taking the cuttings. With clean, sharp pruning shears, cut a stem just below a leaf node—the slight bend in the stem where leaves grow out—which serves as an energy sink and helps the cutting develop roots more effectively . Aim for cuttings about 4 to 6 inches long, ensuring they possess at least two sets of leaves. By removing any flowers or large leaves from the cutting, you reduce energy expenditure during the rooting process, directing it instead towards establishment of roots.
Rooting the Cuttings
Once you have your cuttings ready, it’s time to plant them. Dip the cut end into root hormone to enhance root development. While this is not strictly necessary, it can accelerate the process and yield more resilient plants. Insert the cutting into a well-draining potting mix, creating a small hole (using a pencil works well) so as not to damage the hormone coating, then gently firm the soil around it. Water lightly, ensuring that the soil is moist but not overly saturated; drainage is vital here.

Creating a Humid Environment
Hibiscus cuttings thrive in humidity, which mimics their native tropical environments. To create this humidification effect, covering the plant with a plastic bag or placing it inside a mini greenhouse can limn a microclimate that encourages growth. Be sure to air it out periodically to prevent mold and ensure adequate ventilation. This encapsulated environment serves a crucial role akin to a nurturing cradle, providing your young cuttings a safe space to develop without desiccation.
Light and Temperature Requirements
Offering optimal light conditions is essential. Place your propagated cuttings in a warm location with indirect sunlight—for instance, near a window that filters harsh rays. Too much direct sun can scorch the tender new shoots, while insufficient light may lead them to become leggy and weak. A temperature range between 70°F to 80°F is ideal; too much cold can stymie root formation altogether.
The Waiting Game
In terms of patience, expect the rooting process to take anywhere from 2 to 8 weeks depending on various factors including the particular species of hibiscus and environmental conditions. During this period, you might check for roots by gently tugging on the cutting; resistance usually indicates that roots are forming. You will also want to keep an eye out for signs of rotting, particularly at the base of the cutting.
Transplanting Your New Hibiscus
Once rooted adequately—evidenced by new leaf growth and stable tugs—you can think about transplanting your hibiscus into larger pots or directly into your garden. When the time comes, gradually acclimatize the new plants to outdoor conditions over several days—known as hardening off—to mitigate shock. As your hibiscus begins to thrive, watch for its show-stopping blooms, knowing that each flower represents not merely a beauty but perhaps an homage to the loving care you devoted to its journey from a simple cutting to a flourishing plant.
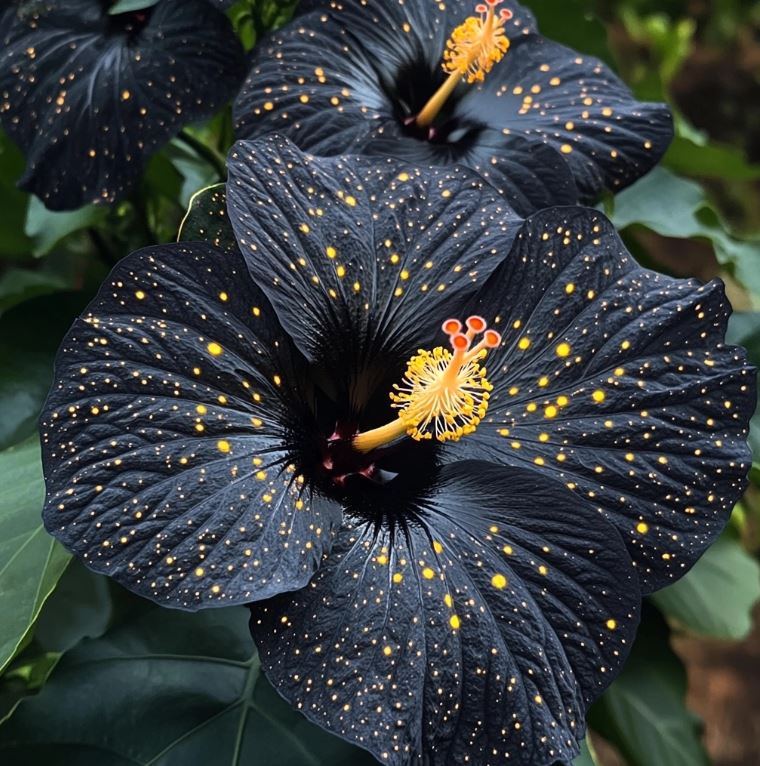
So, growing hibiscus from cuttings presents an engaging blend of horticultural technique and an appreciation for nature’s resilience. Each step of the way invites contemplation about life, growth, and our connections to the green world around us. What stories will your new hibiscus cuttings bring to your garden? The unfolding narrative begins with just a snip!Copy Viết bài từ Search
