Growing dahlias from seed is akin to assembling a vibrant mosaic of color in your garden. Unlike the predictability of planting tubers, starting with seeds embodies a sense of adventure and potential discovery. So, let’s delve into the intricacies and nuances of this rewarding gardening endeavor.
Selecting Seeds: Begin with Quality
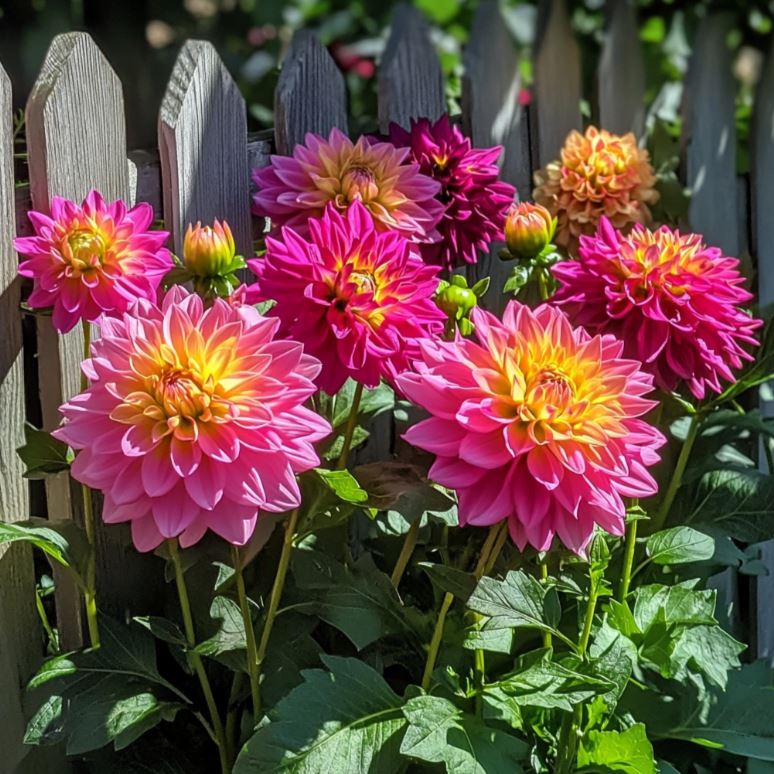
The journey begins with choosing high-quality dahlia seeds. Varieties range from showy pom-poms to elegant dinner-plate blooms. By selecting rarer varieties, you not only contribute to biodiversity but also encapsulate a delightful surprise awaiting you in full bloom. Sources emphasize the importance of well-sourced seeds, which ensures robust growth and vibrant flowers.
Exploring Dahlia Seed Varieties
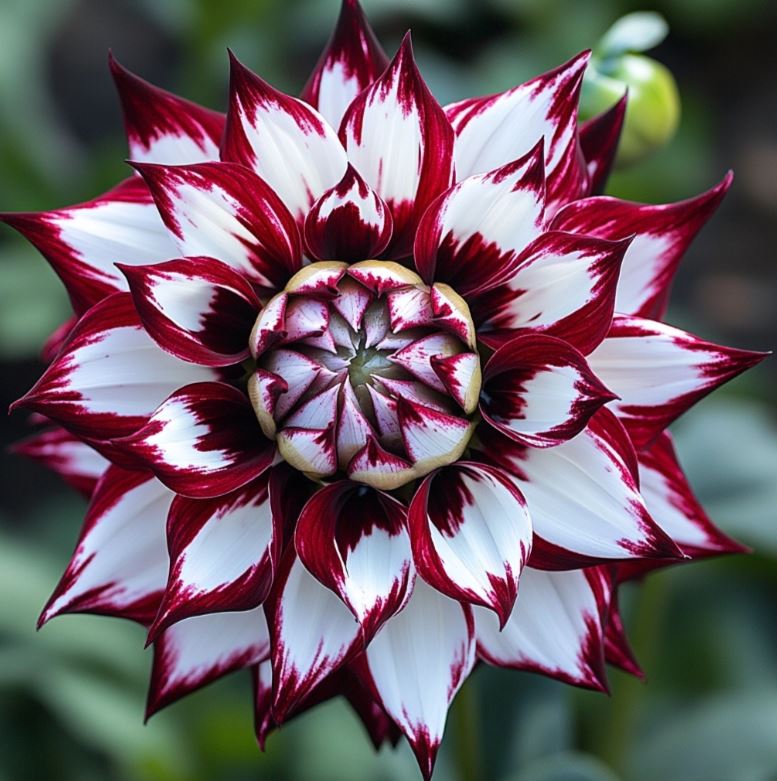
Dahlias come in a vast array of shapes, sizes, and colors, each with its own unique charm. From the classic ball-shaped blooms to the stunning dinner-plate varieties, the options are truly dazzling. When selecting seeds, consider the overall aesthetic you wish to create in your garden. Do you envision a bold, vibrant display or a more subdued, elegant arrangement? Researching the different cultivars and their characteristics can help you make an informed decision.
Sourcing High-Quality Dahlia Seeds
Purchasing dahlia seeds from reputable sources is crucial. Look for seed suppliers who prioritize quality, heirloom varieties, and ethical growing practices. These sources often provide detailed information about the seeds, including their origin, growing habits, and expected bloom times. Investing in well-sourced seeds sets the foundation for a successful growing experience.
Considering Rare and Unique Varieties
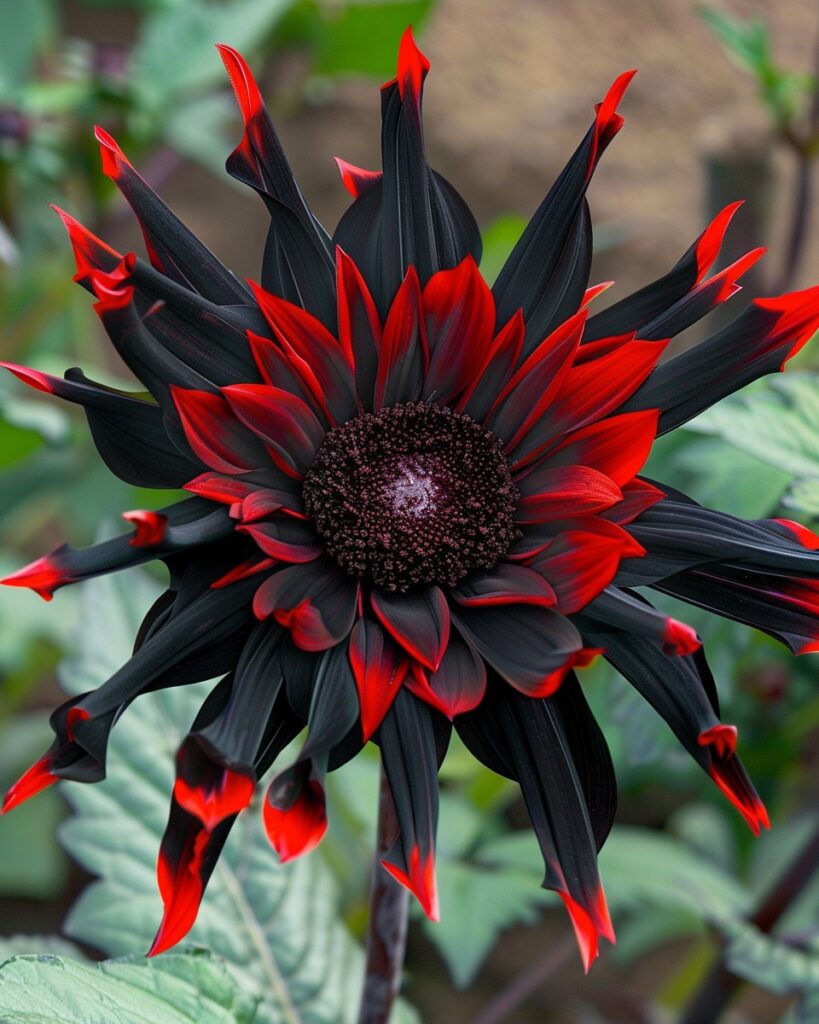
Embracing the opportunity to grow rarer dahlia varieties can be tremendously rewarding. These unique cultivars not only add depth and interest to your garden but also contribute to the preservation of biodiversity. By exploring less common options, you can create a truly one-of-a-kind floral display that sets your garden apart.
Germination: The Foundation for Growth
Germination acts as the critical threshold where hope transforms into reality. After sowing, use a lightweight seed-starting mix, preferably enriched with nutrients. Keep your pots in a warm location with bright indirect light, and maintain moisture without drowning them. A humidity dome can elevate chances of success, creating an environment reminiscent of their native habitats. Typically, seedlings will sprout within a couple of weeks, bringing you a step closer to your floral masterpiece.
Preparing the Seed-Starting Medium
The seed-starting medium plays a crucial role in the germination process. Choose a lightweight, well-draining potting mix specifically formulated for seed starting. These mixes are often enriched with essential nutrients to give your dahlia seedlings a strong start. Avoid using heavy garden soil, as it can compact and inhibit root development.
Sowing and Maintaining Proper Moisture
When sowing your dahlia seeds, follow the depth recommendations on the seed packet. Gently press the seeds into the medium and water lightly. Maintain consistent moisture by misting or bottom-watering, taking care not to oversaturate the soil. A humidity dome or plastic cover can help retain moisture and create a greenhouse-like environment, mimicking the warm, humid conditions dahlias thrive in.
Providing Optimal Light and Temperature
Dahlias require ample warmth and bright, indirect light to germinate successfully. Place your seed trays in a location that receives at least 6 hours of sunlight per day, such as a south-facing window or a heated greenhouse. Maintain soil temperatures between 70-80°F (21-27°C) for the best germination results. Avoid exposing the seeds to direct sunlight, as this can dry out the soil and inhibit sprouting.
Monitoring for Seedling Emergence
Be patient and keep a close eye on your seed trays. Dahlia seedlings typically emerge within 14-21 days, depending on the variety and growing conditions. Once the first set of true leaves appears, you’ll know your seeds have successfully germinated, marking an exciting milestone in your gardening journey.
Transplanting: Nurturing Your Starters
Once your seedlings develop their true leaves, it is time for a rite of passage—transplanting into individual pots. This crucial stage fosters strong root systems, enhancing resilience. It’s akin to moving off to college: your dahlias require both space and care to flourish independently. At this point, ensuring they receive adequate sunlight while keeping them protected from harsh conditions will allow them to thrive.
Preparing Individual Pots
When it comes time to transplant your dahlia seedlings, choose individual pots or containers that are at least 4 inches (10 cm) wide and deep. This provides sufficient space for the roots to develop and the plant to grow. Use a high-quality, well-draining potting mix enriched with organic matter, such as compost or aged bark.
Transplanting Technique
Gently lift the seedlings by their leaves, being careful not to damage the delicate stems. Plant them in the prepared pots, ensuring the soil line is at the same level as in the seed tray. Firm the soil around the base of the plant to provide stability and good soil-to-root contact. Water thoroughly after transplanting to help settle the roots.
Acclimating to Increased Light
As your dahlia seedlings transition to their new homes, gradually expose them to more direct sunlight. This “hardening off” process helps them adapt to the increased light intensity and prevents stress or shock. Start by placing them in a partly shaded area for a few hours per day, gradually increasing the duration and intensity of light exposure over the course of a week or two.
Maintaining Optimal Growing Conditions
Once your dahlias are established in their individual pots, ensure they receive at least 6 hours of direct sunlight per day. Water them regularly, keeping the soil consistently moist but not waterlogged. Fertilize every two weeks with a balanced, water-soluble fertilizer to support healthy growth and vibrant blooms.
Soil Preparation: The Underground Magic
For remarkable blooms, soil quality cannot be overlooked. Dahlias crave rich, fertile, well-draining soil, enriched with organic matter such as compost. Imagine a sponge that absorbs just the right amount of water; this is the texture you aim for. Mulching not only conserves moisture and suppresses weeds, it also maintains cooler soil temperatures during scorching summer months—like providing shade under a tree on a blazing day.
Assessing and Amending Soil
Before planting your dahlias, take the time to evaluate the existing soil in your garden. Dahlias thrive in slightly acidic, well-draining soil with a pH between 6.0 and 7.0. If your soil is heavy, clay-based, or lacks essential nutrients, incorporate organic matter, such as compost or aged manure, to improve texture and fertility.
Achieving the Ideal Soil Texture
The perfect soil for dahlias should have a light, crumbly texture that allows for proper drainage and air circulation. Imagine a sponge that can hold moisture without becoming waterlogged. By mixing in generous amounts of compost or other organic matter, you can create this ideal soil structure, which will support vigorous root growth and nutrient uptake.
The Benefits of Mulching
Applying a 2-3 inch (5-7 cm) layer of organic mulch around your dahlia plants offers numerous benefits. Mulch helps retain soil moisture, suppressing weed growth and maintaining cooler soil temperatures during the heat of summer. This protective layer also prevents soil compaction and erosion, creating an optimal environment for your dahlias to thrive.
Nutrient Supplementation and Fertilization
Dahlias are heavy feeders and require regular fertilization to maintain their lush growth and abundant blooms. Incorporate a balanced, slow-release fertilizer into the soil before planting, and supplement with a water-soluble fertilizer every two to three weeks during the growing season. This ensures your dahlias have a consistent supply of essential nutrients for optimal performance.
Planting Outdoors: Timing is Everything
Timing when to move your dahlias outdoors is essential. Post-frost, usually around spring, provides the best climate for transplanting. Envision gradually hardening them off—placing them outside in sheltered spots for increasing amounts of time each day before finally introducing them to their new home. This tough-love approach acclimates the delicate plants to outdoor elements.
Choosing the Ideal Planting Time
Dahlias are sensitive to cold temperatures and should only be planted outdoors after the last frost has passed in your region. This typically occurs in the spring, but the exact timing can vary depending on your local climate. Monitor weather forecasts and plant your dahlias when nighttime temperatures consistently remain above 50°F (10°C).
Hardening Off Your Dahlia Seedlings
Before transplanting your dahlia seedlings into the garden, it’s crucial to gradually acclimate them to outdoor conditions. This “hardening off” process involves exposing the plants to increasing amounts of sunlight, wind, and temperature fluctuations over the course of 7-14 days. Start by placing them in a shaded, sheltered spot for a few hours each day, gradually increasing their time outdoors and their exposure to sunlight.
Selecting an Optimal Planting Location
Choose a spot in your garden that receives at least 6 hours of direct sunlight per day. Dahlias thrive in areas with good air circulation and protection from strong winds. Avoid planting them in low-lying areas that are prone to frost or waterlogging, as these conditions can be detrimental to their growth.
Proper Planting Technique
When transplanting your dahlias, dig holes that are slightly larger than the root system of your seedlings. Gently place the plants in the holes, ensuring the soil line is at the same level as the potting mix. Backfill with the amended soil, gently firming it around the base of the plant to provide stability. Water thoroughly after planting to help settle the roots.
Care Through the Seasons
Once established, the journey doesn’t end. Regular watering, careful weeding, and fertilizing strategies come into play. Think of this phase as nurturing a relationship. Each flower requires attention and patience, as neglect or excess can lead to soul-crushing results. Consistent checks for pests and diseases will facilitate early interventions, protecting your prized dahlias from potential adversaries.
Maintaining Consistent Watering
Dahlias require consistent moisture to thrive, but they are also susceptible to waterlogging. Aim to keep the soil consistently moist, but not saturated. Water deeply, reaching the root zone, and avoid getting the foliage wet, as this can contribute to fungal issues. Adjust watering frequency based on weather conditions, soil type, and plant growth stage.
Controlling Weeds and Providing Support
Diligent weeding is essential to prevent competition for resources and maintain a tidy, well-cared-for garden. Gently remove weeds by hand, being mindful not to disturb the delicate dahlia roots. As your plants grow taller, consider providing support structures, such as cages or stakes, to prevent them from toppling over in wind or heavy rain.
Fertilizing for Vibrant Blooms
Dahlias are heavy feeders and will benefit from regular fertilization. Apply a balanced, slow-release fertilizer at the time of planting, and supplement with a water-soluble, high-phosphorus fertilizer every two to three weeks during the growing season. This will ensure your dahlias have a consistent supply of nutrients to fuel their robust growth and bountiful blooms.
Monitoring for Pests and Diseases
Vigilance is key when it comes to protecting your dahlias from pests and diseases. Regularly inspect your plants for signs of aphids, spider mites, thrips, or other common dahlia pests. Address any issues promptly with appropriate, organic control measures to prevent the spread of infestations. Additionally, watch for signs of fungal diseases, such as powdery mildew or botrytis, and take preventive measures, such as improving air circulation and avoiding wet foliage.
Harvesting: The Culmination of Patience
As summer passes, the excitement reaches its zenith. Watching buds swell and blossom into stunning displays is nothing short of magical. However, this is also the time to consider seed collection for future endeavors. Saving seeds allows basing future gardens not just on color but also on traits informed by the previous year’s blooms.
Cutting and Enjoying the Blooms
When your dahlias reach their peak bloom, begin cutting the flowers for indoor arrangements or to share with friends and family. Use a sharp, clean pair of scissors or pruners, and make cuts just above a set of leaves or side shoots. This encourages the plant to produce more blooms throughout the season.
Deadheading and Seed Collecting
As the flowers begin to fade, take the time to deadhead spent blooms. This process not only keeps your garden looking tidy but also redirects the plant’s energy into producing more flowers. Additionally, you can collect seeds from the spent blooms for future planting. Carefully label and store the seeds in a cool, dry place for use in the next growing season.
Preparing for Winter Storage
As the growing season comes to a close, it’s time to prepare your dahlia tubers for winter storage. After the first frost, cut the stems back to a few inches above the ground. Carefully lift the tubers from the soil and allow them to dry in the sun for a few hours. Store the tubers in a cool, dry place, such as a basement or garage, for the winter months.
Reflecting on the Journey
In essence, growing dahlias from seed is more than just a process; it’s an exploration of life cycles, creativity, and environmental consciousness. Each step taken embodies lessons learned, much like life itself. This adventure can open up pathways to personal growth, botanical respect, and joy manifested in floral beauty.
Conclusion
Growing dahlias from seed is a truly rewarding experience that allows you to create a unique and vibrant garden. By carefully selecting high-quality seeds, nurturing the seedlings, preparing the soil, and providing diligent care, you can witness the transformation of tiny seeds into magnificent, show-stopping blooms. This journey encompasses the wonders of nature, the satisfaction of personal accomplishment, and the joy of cultivating a living work of art. Embrace the adventure, and let your dahlia garden blossom into a true reflection of your passion and creativity.